My Award-Winning Costume of Worldcon 76


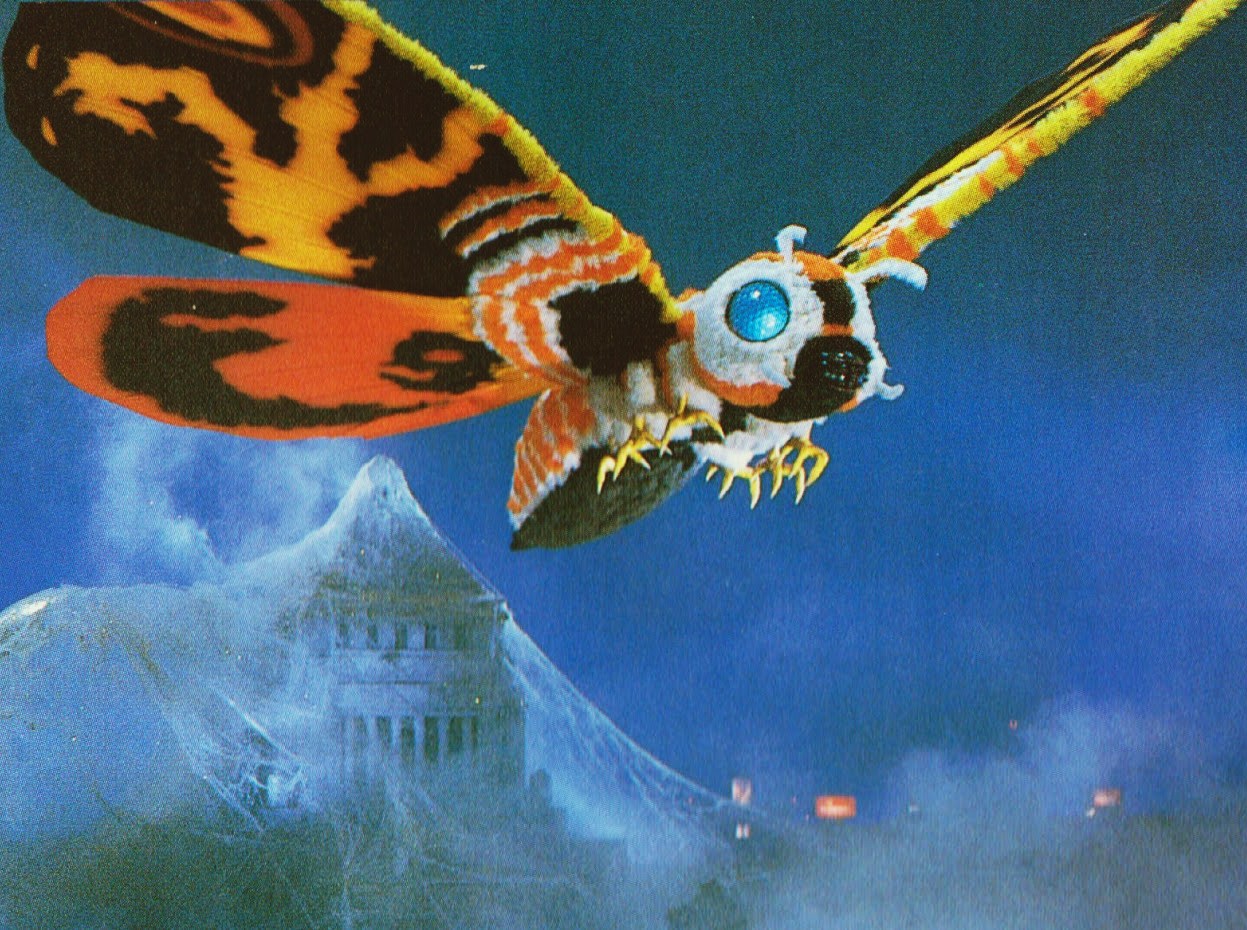
My inspiration came from MOTHRA--the 1961 Japanese film that
I've loved since I was a child. Recent films like Pacific Rim and the Godzilla
remake got me interested in giant monsters again.

My original concept for the costume was a geisha in the
elaborate kimono and wings would emerge out of the obi (bow) in the back. My
music choice would have been the final aria from Madame Butterfly. The more I
thought about it and envisioned my stage performance, the less appealing that
whole scene became.

I re-watched the original film and realized that Mothra is a
gentle-hearted monster. A greedy businessman massacres the native people of
Mothra's island in order to kidnap the little fairy girls and force them to
perform on stage. The fairies sing a song to summon Mothra who journeys across
the ocean to rescue them. All of the destruction caused by Mothra along the way
could have been avoided if only the greedy businessman had honorably returned
the fairies to their home. In the end, it is not military might but the
compassion of newspaper journalists who give the fairies up to Mothra who
takes them home.
My design changed into a combination of Mothra wings +
Victorian bustle gown to capture the elegance of this graceful monster with the
essence of a fuzzy moth body. I had wanted to make the wings first and the
garment second, but with mishaps of acquiring materials, I ended up doing the
opposite.
Here is how I made the four main parts, in order of
construction: the headpiece, the jacket, the bustle skirt, and the wings.
Headpiece
For the pattern, I used a generic peasant cap. I made
buttonholes on the top center panel to insert a giant pipe cleaner for
antennae. The eyes are foam half-disks covered with blue glitter--so much
glitter! Tip: I used an empty plastic container of grocery store salad mix to
contain the sprinkling glitter. The eyelashes are yarn that I wrapped around
two chopsticks, stitched a thin ribbon down the middle, cut at the edges, and
folded.


Jacket
For the pattern, I used a sporty jacket that I had used
before as the tunic of General Leia Organa. I decided on sleeveless because I
would need to raise my arms to lift the wings. I made the center panel in
contrasting brown taffeta to line up with the center panel of the
skirt--capturing the essence of Mothra's abdominal colors.
I made two slits in the back seam where I planned to insert
the straps of the wings' harness. More on that below. The separating zipper was
a life-saver, backstage, as I could unzip the jacket and cool off before the
performance.

Bustle Skirt
For the pattern, I used a commercial pattern that I had
never used before. I've made two bustle skirts previously, but despite that
experience I wrestled with it more than I had planned. Part of it was a lack of
clarity in the printed instructions, so I took it step by step. Only after
completing a step, I would think of a more efficient way to achieve the same
result. The large amount of fabric (9 or 10 yards) was also difficult to
handle. Often I found myself swallowed under the "tent" tucking up
the tucks or spreading out panels of taffeta the full length of the living room
floor.


The only modification that I made was in the trim. The
pattern wanted me to hand-pleat the entire bottom ruffle in three rows. Sorry,
but no. I purchased cotton eyelet.
Tip: for the bustle pillow, I used a jumbo sponge from the
hardware store and filled out the edges with regular poly fiberfill.
Once it was finished, though, I am very happy with the end
product. Putting it on is a breeze! Step in… Two skirt hooks… Done! Taffeta has
a great stiffness that holds its shape and has a wonderful sheen under stage
lights.
Wings
Given my insect phobia, I had to study photos and diagrams
of real moths. I compared them to images of Mothra and sketched a design.


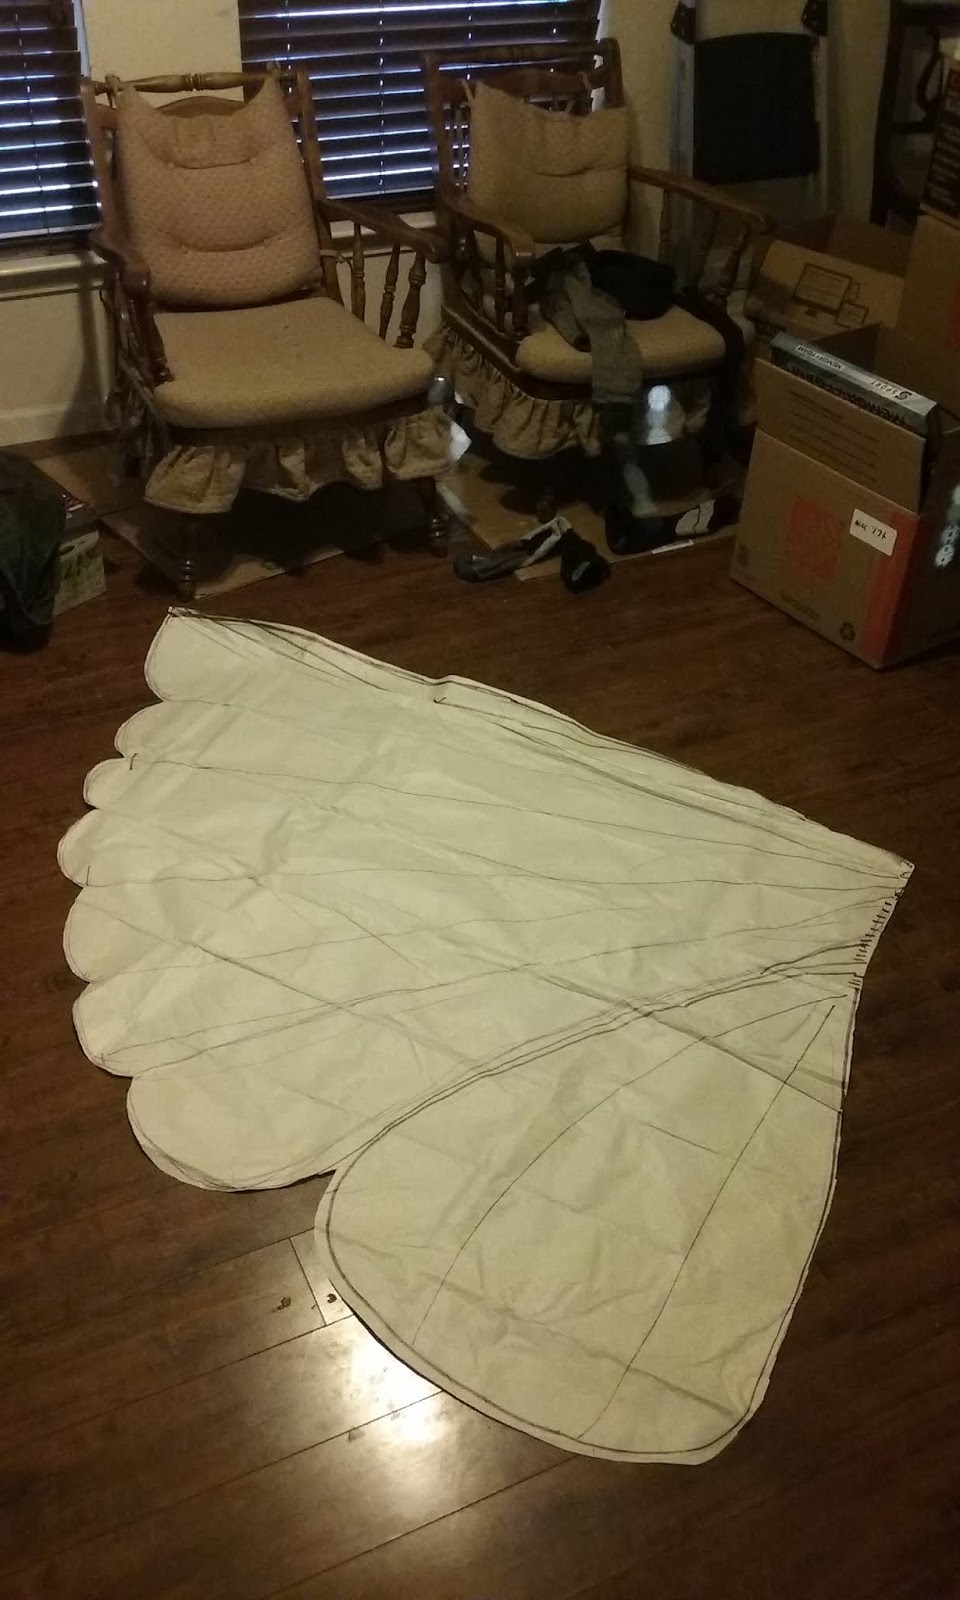

I considered several fabric options until I stumbled upon
something called Smart-Fab. I ordered a small packet of multi-color sheets to experiment with the texture,
the thickness, and how it behaved for paint and glue. Pros: it doesn't fray, it doesn't rip, it is
slightly opaque, and it is easy to paint. Cons: the instructions claim it takes
all kinds of glue except hot glue, when in reality hot glue was the only thing
that really stuck.
My idea was to dip macramé cord in white glue and lay the
cords on the wings. Not only would it give structure but it would mimic the
veins of real moth wings. I bought an entire gallon of Elmer's glue at the
hardware store and used the grocery store salad container as a dipping bowl.
To my dismay, the glue-dipped cords did not stick! I tried
samples with tacky glue, gorilla glue, stinky epoxy glue, but the only thing
that really worked was hot glue. I went through two whole packages of glue
sticks. Tip: use a wooden
chopstick to press a narrow thing down and save your fingertips from burning.


Thanks to the opaque texture of Smart-Fab, I could use my
paper dropcloth pattern to trace the Mothra design onto the wings. Then came
the PAINT.

I used the expensive stuff because my tests of cheap
fingerpaint or poster paint did not have the brilliance or smooth coverage. I
used all of the orange, yellow, and most of the red. I ran out of black and had
to run to Michael's for more. What took the most time was waiting for it to
dry. Remember, I had to paint each
side, left and right in mirror images. My dinner table could only take one wing
at a time. I lost track of time, but I think it took a full two weeks just to
paint them.


Coming this far, why not go all the way in my attention to
detail? Mothra has a soft fuzz on the upper edge of the wings, and a panel of
white and orange stripes. I painted orange stripes on white felt, although in
hindsight I could have bought orange felt too. I cut long strips of fleece and
hot-glued it over the top edge. Also, in addition to the macramé cords, I sewed
casings of Smart-Fab and inserted wooden dowels. If I had to do it again, I
would use 12-gauge craft wire because the wooden dowels cracked afterwards when
going back into the closet.


The "thorax" is an oval of orange taffeta to match
the back of the jacket. Inside are strips of twill tape where I used buttonhole
thread to stitch on the wings.


The shoulder harness is the part that I left until the
last-minute. I did not expect the wings to get so HEAVY after all that glue,
cord, paint, dowel, felt, and fleece. Stupid me, I used paracord to loop over
my shoulders. I looped twill tape around my legs, like a safety harness, and
used a carabineer to clip the paracord onto it. Sure, getting into the costume
was easy enough. By the end of the evening, the cords had dug rope burns into
my shoulders.

Overall, I'm really pleased with how it turned out. The wings
are easy to wear and looked spectacular when I lifted them up on stage. I feel
honored to have earned an award at a world-class competition. For the next time, I am making a new harness!
