Friday, December 27, 2013

Conquering the Invisible Zipper

For this year's Dickens Fair, I wanted to make a simple dress that was light, comfortable, and did not have a lot of fussy details to stress over. I chose the age-old Simplicity pilgrim/frontier dress pattern even though its envelope photo is simply awful. What appealed to me is the (pardon the pun) simplicity of it -- a bodice front & back, simple sleeves, and an attached skirt. Surprisingly it has some nice features like a drop-point waistline and, if I so choose, accessories like a mop cap or shoulder drape. With some modifications to the sleeves and shoulder caps, I thought this could turn out rather well.

One drawback:  this pattern calls for a big ol' zipper. Of course we all know that zippers were not invented yet in the Victorian Era, but I did not have the energy to make buttonholes, hooks and eyes, or snaps all down the back. So I decided to try the Dreaded Invisible Zipper.

Like most people who sew as a hobby, I have avoided the invisible zipper because of its fearsome reputation. Until now! Emboldened by my recent successes in corset making, I leaped right in.

First, I purchased an "invisible" zipper and the accessory package of universal zipper foot. Then I went home, opened the packages, read the instructions, and felt overwhelmed with confusion.


Seriously, these instructions are not helpful to the novice. I resorted to The Internet for answers and found a YouTube video by Professor Pincushion. Whoever this woman is, I owe her a debt of gratitude for her clear and easy instructions. https://www.youtube.com/watch?v=ZlIFCuP3sZo 

All in all, the assembly of this entire gown took a single weekend. That's start to finish from cutting, to sewing, to embellishing. I used the machine's button feature to tack a row of buttons down the bodice front to give the illusion that it's buttoned, and the invisible zipper in back blends in with the stripes fairly well so it's hardly noticeable. The idea is that you're stitching so close to the zipper's teeth (with the custom zipper foot attachment) that it's a very small flap of fabric.


Once I added the final fashion accessories of a lace drape around my neck, the bonnet, and so forth, it was quite comfortable to wear at the Dickens Fair all day.


Sunday, December 1, 2013

Hoop Snips

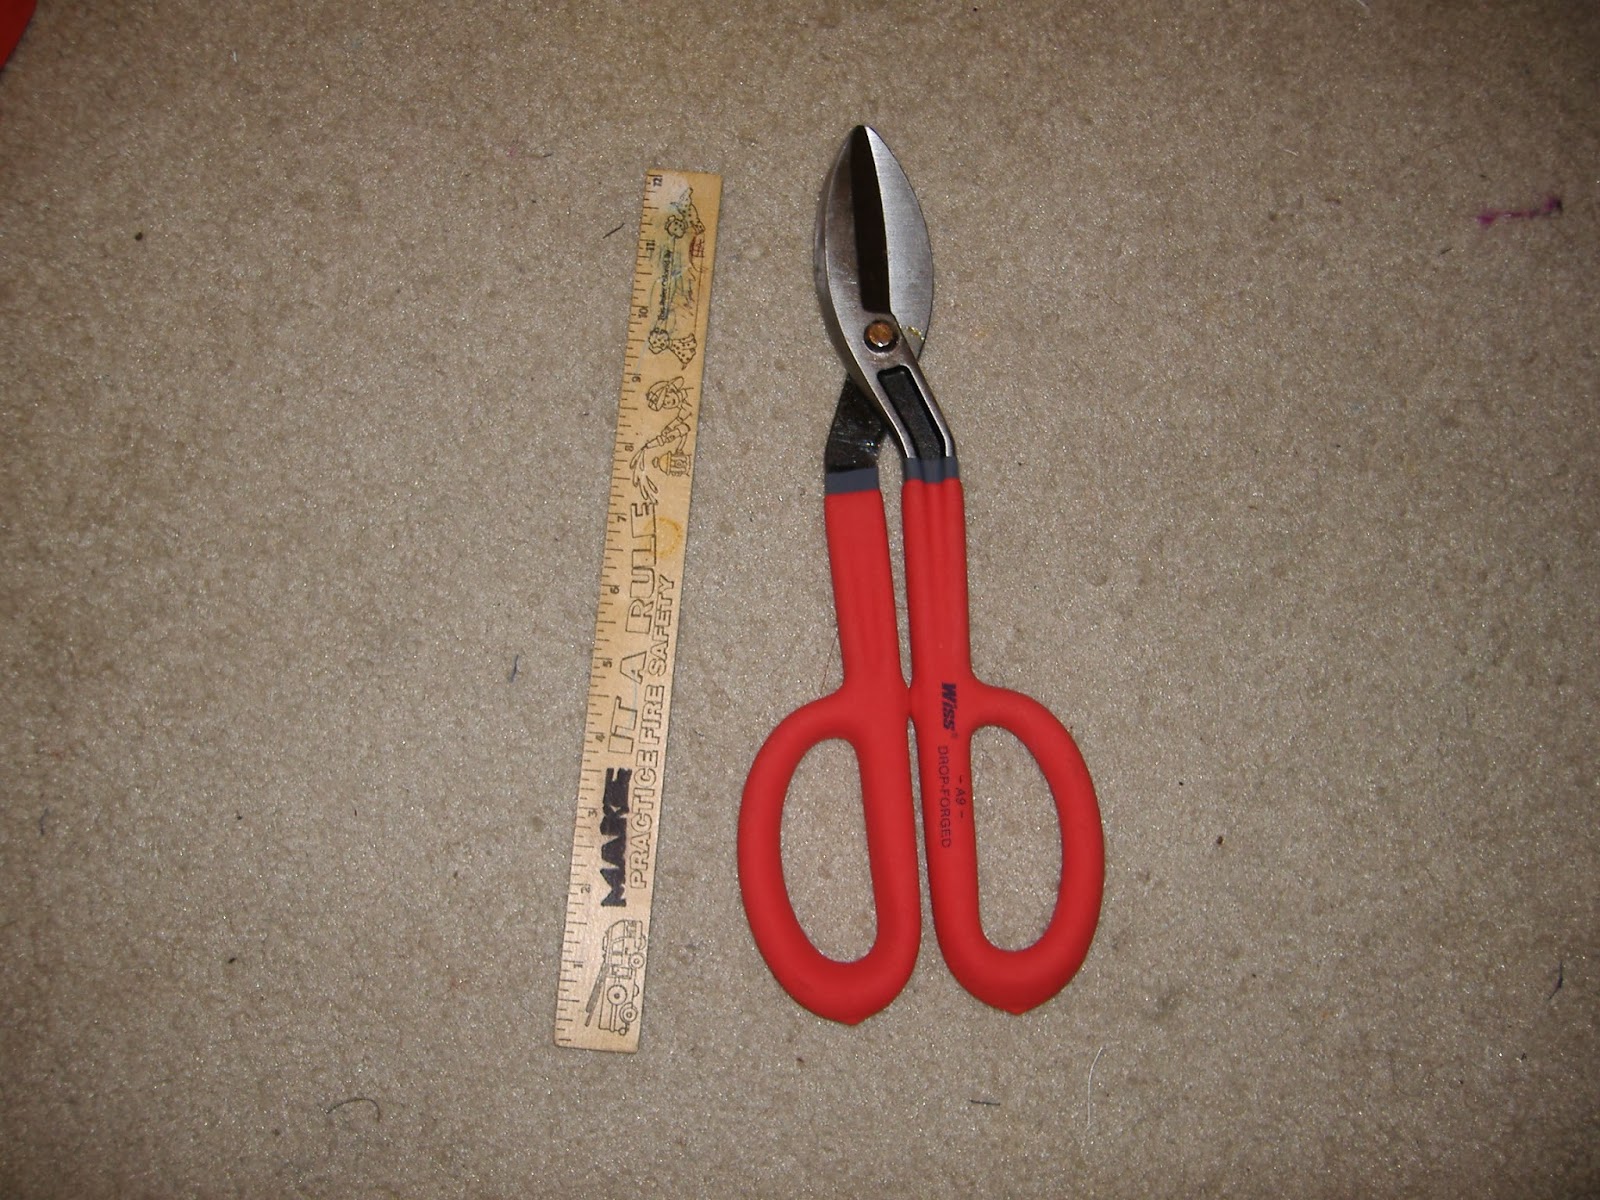
I let the Black Friday crowds die down, and on Sunday afternoon I went to OSH for "tin snips." Not sure of which kind would be best, I got the biggest ones they had for under $15. I figure they'll be handy to have around the house. Yes, they are huge! About 12 inches long.


The hoop skirt's steel wire is pretty tough stuff, though. I had to put it on the floor and lean down on it with my whole body weight to snap off a snip. But it did the job! A nice clean cut, that meant I didn't need to use the metal file. Then it was a matter of feeding the hoop wire into the 4 rungs of casings.  I joined the ends with Gorilla duct tape.

Sorry my camera ran out of battery, so I couldn't take a photo tonight of the finished hoop skirt. But trust me... it's hanging on the door in free-form and it looks circular. So I'm very confident it will hold its shape. The only mistake is that I came up about 6 inches short on the highest ring. A problem of measuring from the get-go, I suppose. So I bridged the gap with that awful plastic stuff.  It's not the greatest, but after all it's the top ring and the other 3 are doing great. Let's see how it looks when we try it on my friend "A" and whether it's going to look all right under the gown. Only 2 weeks until we go to the Dickens Fair!! Ahhhhh!!!